The user must be logged in as a TA Provider and be the Lead TA Provider on the JCBA plan final draft.
If a JCBA plan needs to be deleted, contact the CTS Coordinator.
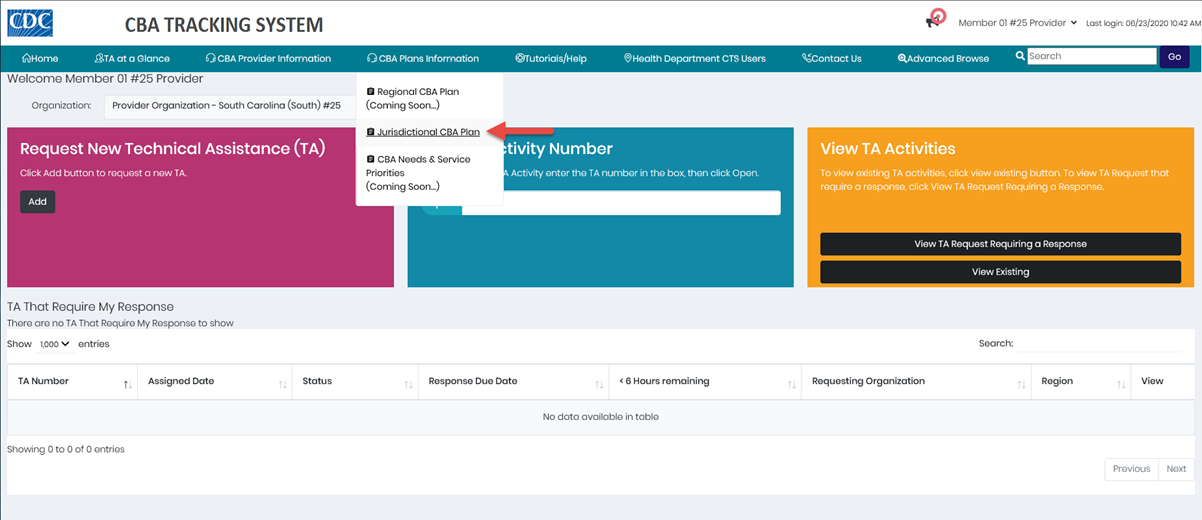
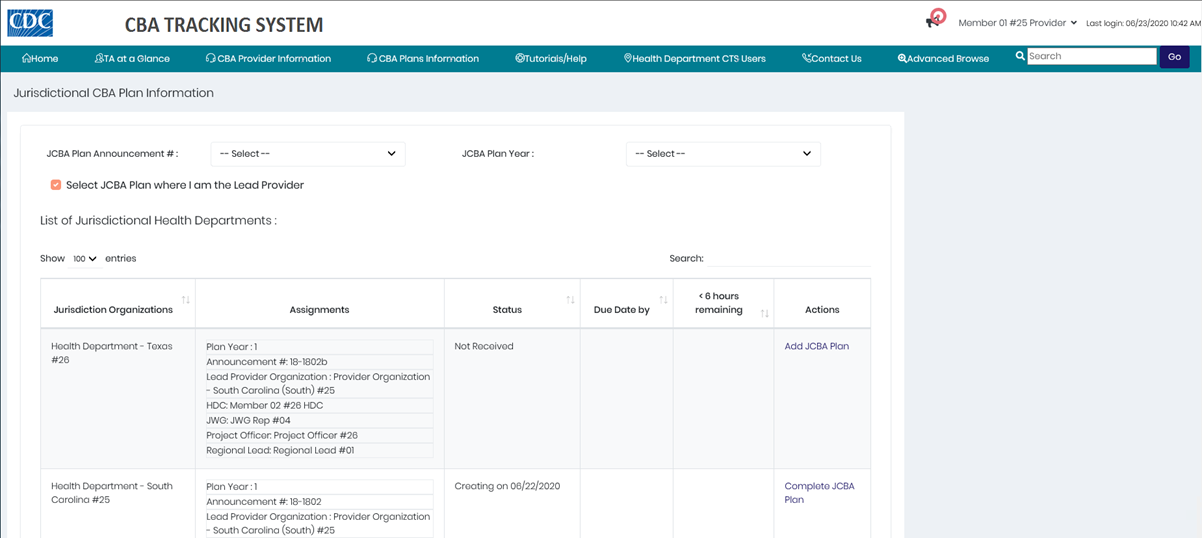
The CTS dashboard.
1. Place the mouse pointer over the CBA Plans Information menu and click the Jurisdictional CBA Plan link.
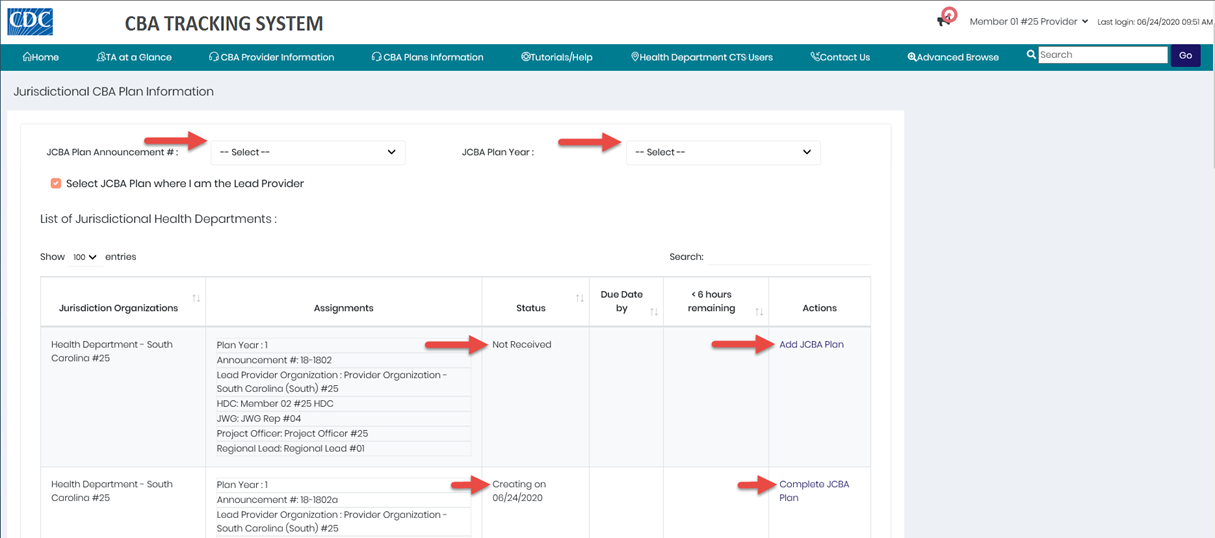
The CBA Plan Information paged displays.
Narrow Display Results
To narrow the display of jurisdictional CBA plans on the page, select a JCBA Plan Announcement from the drop-down list. To further narrow the results, select a JCBA Plan Year from the drop-down list.
Or click the checkbox Select JCBA Plan that require my response to narrow the results.
2. Locate the JCBA plan in the list; verify the status is Not Received and click the Add JCBA Plan link in the Actions column.
Note: If the JCBA plan has been started but is incomplete, the status is Creating and the link in the Actions column is Complete JCBA Plan.
Click this link to continue adding issues and/or complete the JCBA plan. The New JCBA Issue page displays.
The Add New JCBA Plan dialog box displays.
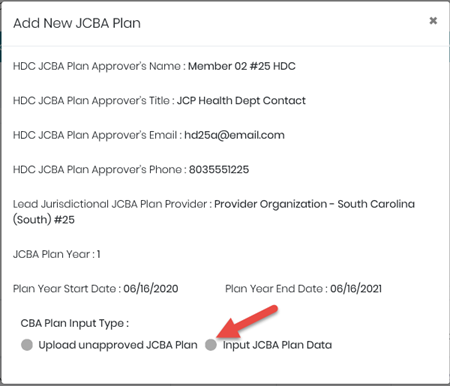
3. Under the CBA Plan Input Type header, click the Input CBA Plan Data radio button.
The JCBA Plan Meeting Date calendar display.
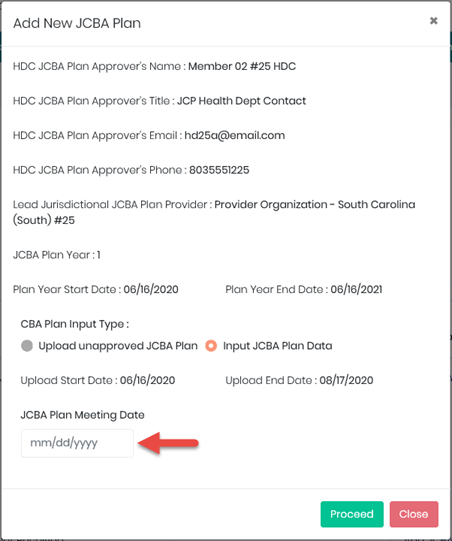
4. Enter the date that you met with the health department contact (HDC).
5. Click the Proceed button.
The New JCBA Issue page displays.
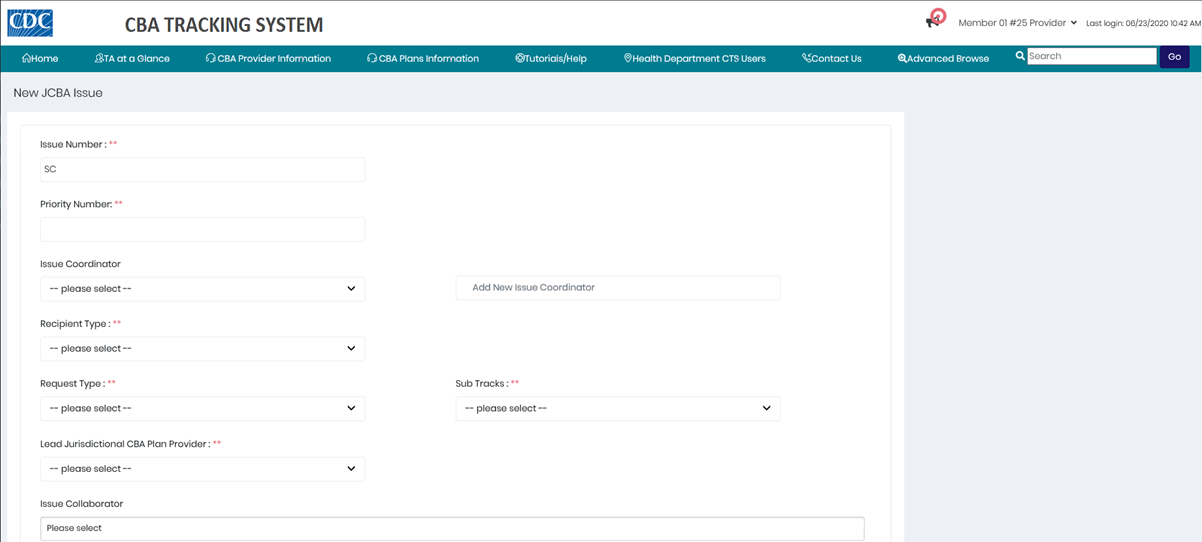
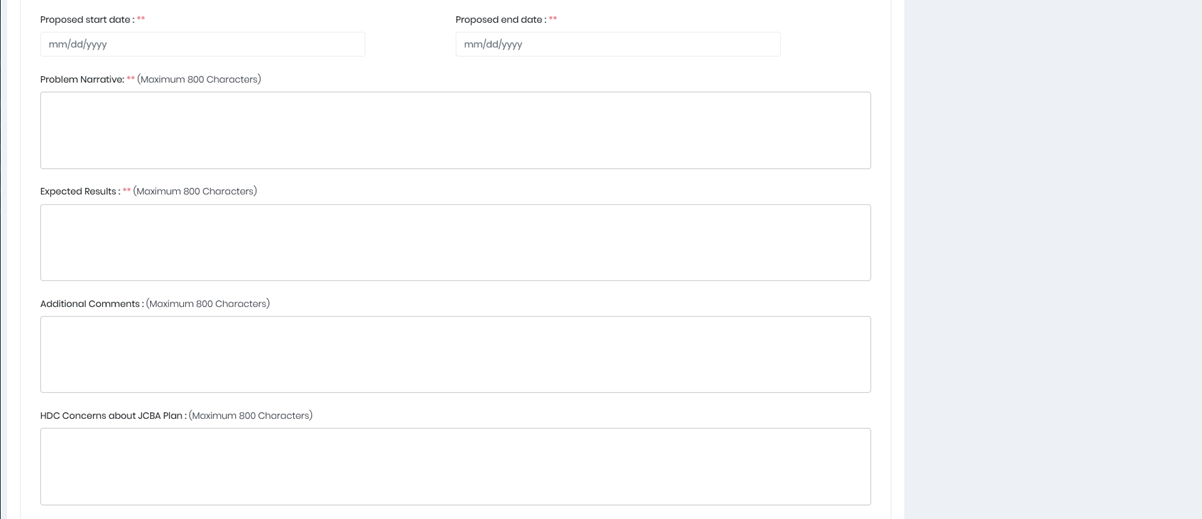

6. Enter data as needed. Note: Required fields indicated by a double asterisk (**) must be completed.
7. Click the Save Issue button.
A Confirm message displays.
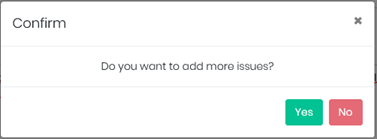
8. To add another issue, click the Yes button; otherwise click the No button. (In this example the No button was selected.)
Note: If Yes was selected, the New Issue page displays.
The Complete JCBA Plan Issue dialog box displays.
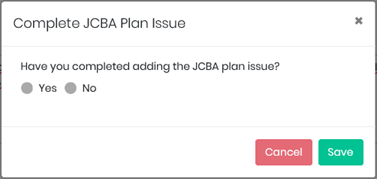
a. If Yes is selected, a second question displays.
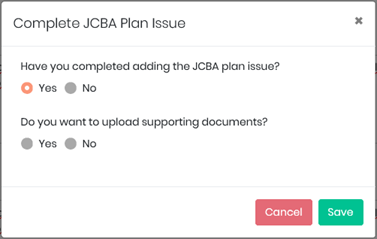
b. If Yes is selected, the JCBA Plan Supporting Documents dialog box displays.
If No is selected, the Confirm message is step 13 (below) displays.
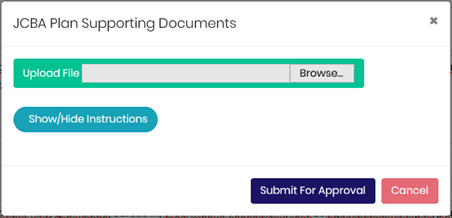
Note: Supporting documents must be in either Word or PDF format.
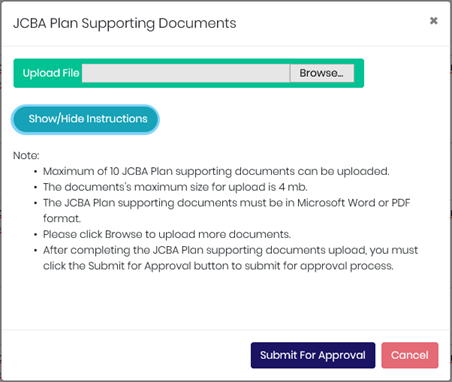
To view instructions on importing supporting documents, click the Show/Hide Instructions button.
9. Click the Browse... button.
The File Explorer window displays.

10. Select a file and click the Open button in File Explorer.
The file name displays in the CBA Plan Supporting Documents dialog box.
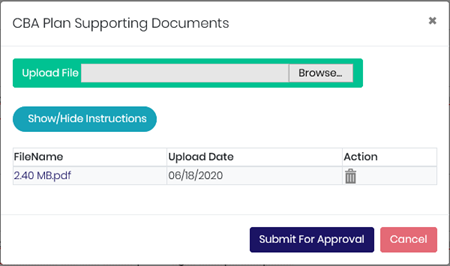
11. To add another document, click the Browse... button again, select the file and click the Open button in File Explorer.
The additional document displays in the dialog box.
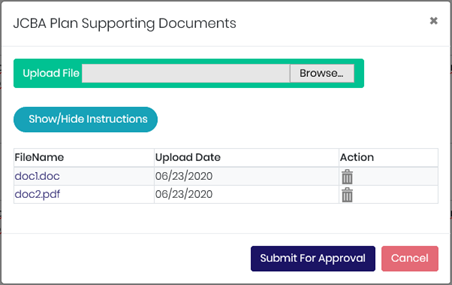
12. Click the Submit For Approval button.
A Confirm message displays.
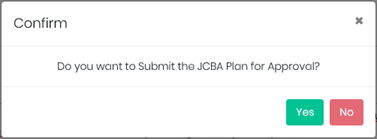
13. Click the Yes button.
A Confirm message displays.
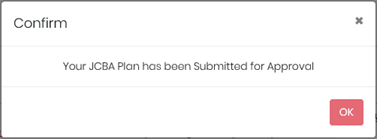
14. Click the OK button.
A Confirm message displays.
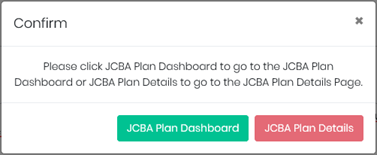
15. Click the CBA Plan Dashboard button.
The Jurisdictional CBA Plan Information page displays.

Note: You may have to scroll down the page to see the JCBA plan just created.
16. The status is Pending Approval HDC. The link in the Actions column is updated to View CBA Plan Details.